Cloudiway’s mail archive migration solution helps businesses perform migrations through a simple SaaS interface. As a result, vault migrations require no additional software installation or overhead, and migrations can be performed securely and quickly.
The Cloudiway platform is flexible enough to support all types of migration paths. However, this mini-guide focuses on migrating Google Vault archives. For more information about migration types (cutover vs. staged), please visit our mail migration whitepaper.
1.1. How does it work?
Vault archives are an exact copy of the online mailbox. In addition, they also contain the permanently deleted items.
During your project to migrate Google Vault , all you need to do is migrate the permanently deleted items because the other items are duplicates of mails stored in the online mailbox.
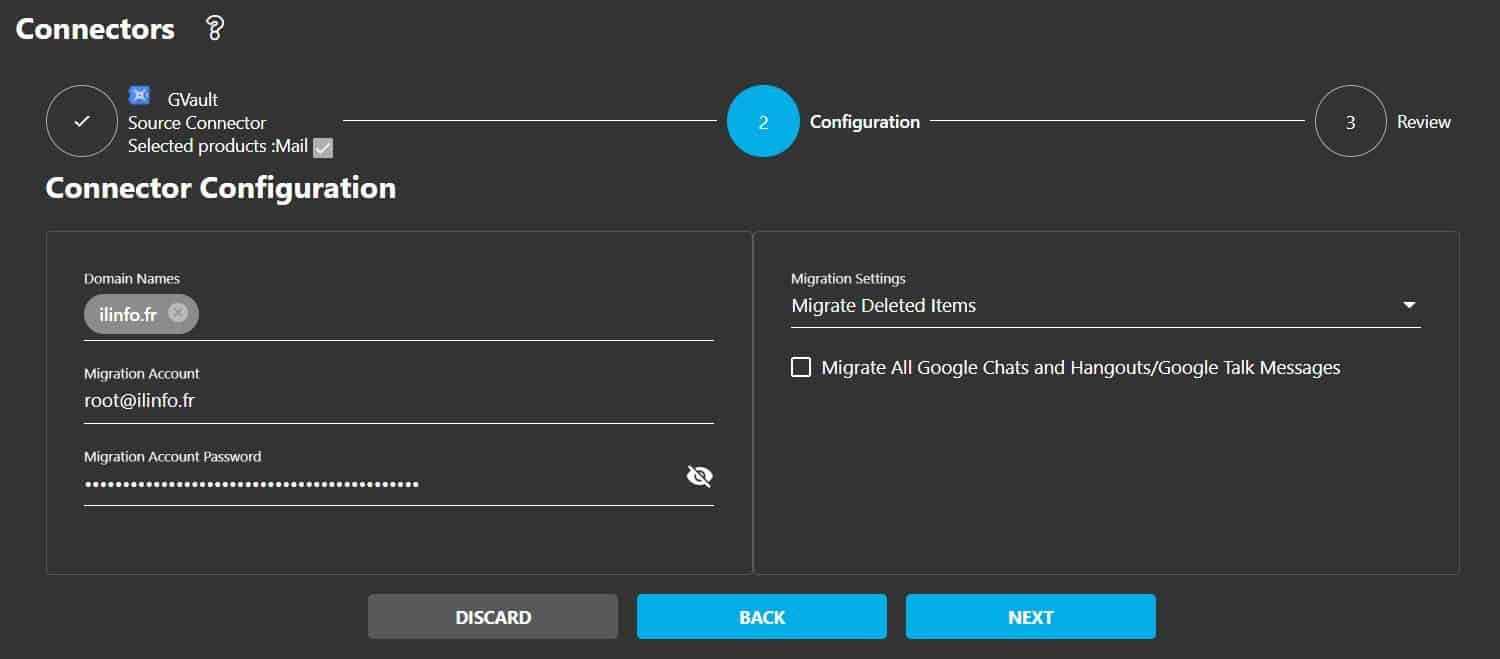
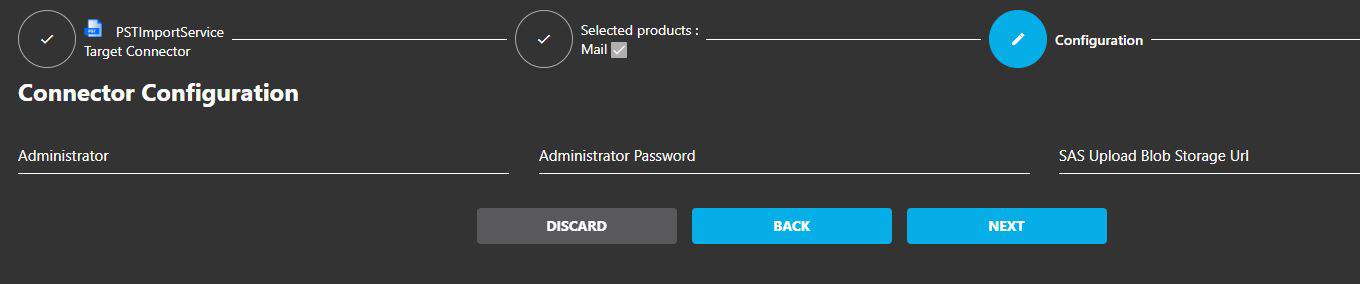
By default, the product migrates only the permanently deleted items. You can change this option in the connector (see below).
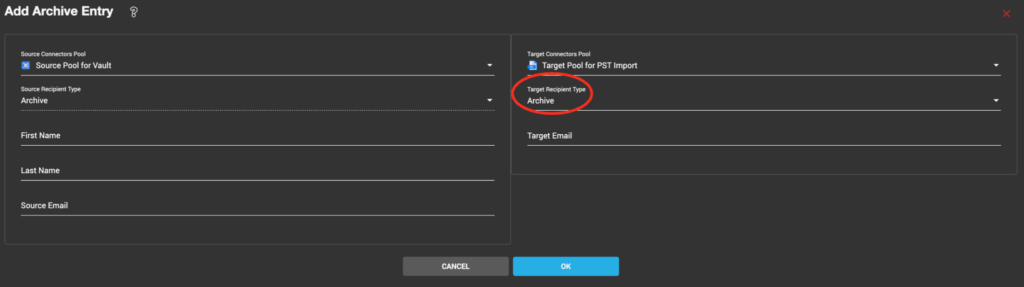
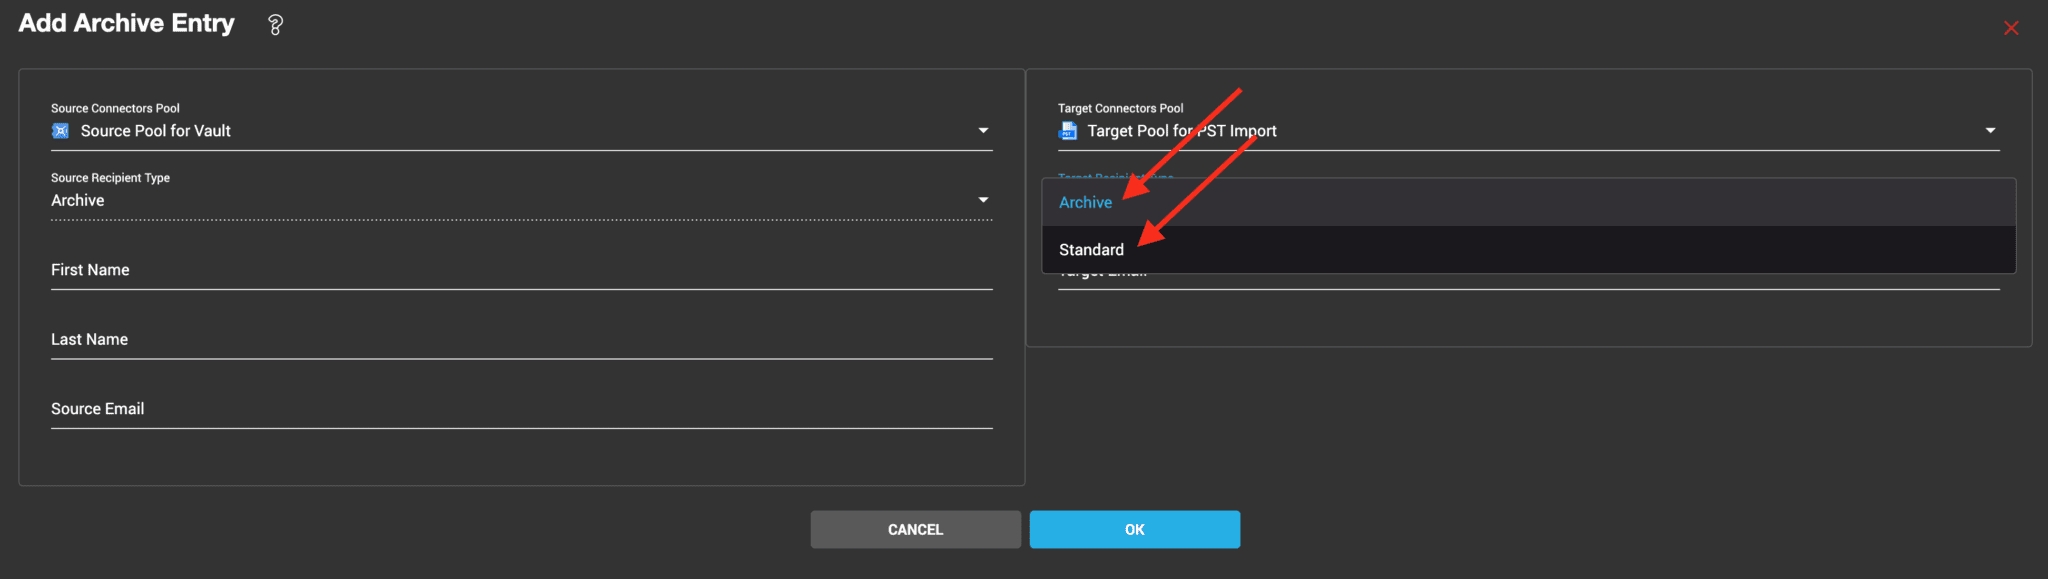
Google Vault can be migrated in the Microsoft 365 mailbox, within the In-Place Archive, or a mix of both.
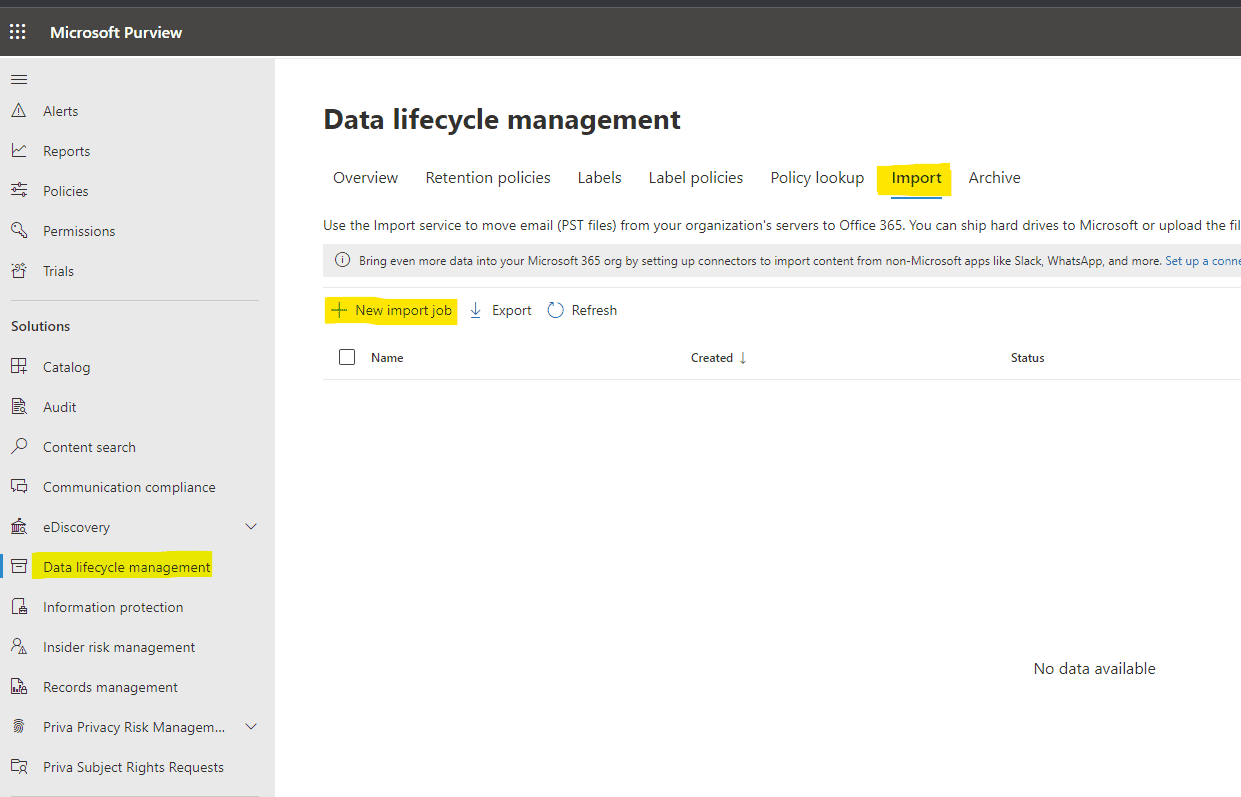
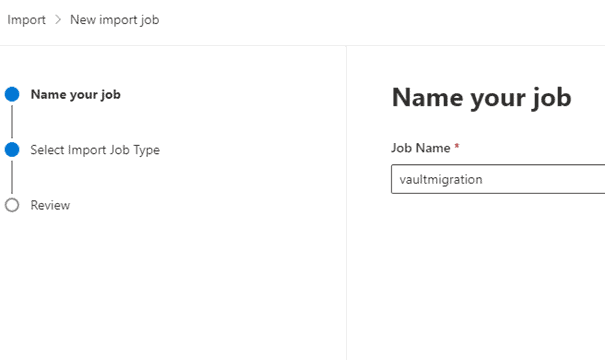
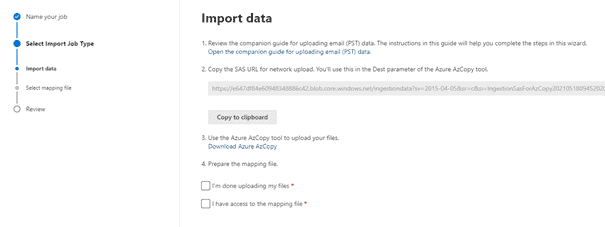
The new Vault migration engine is using the Office 365 PST Import Service.
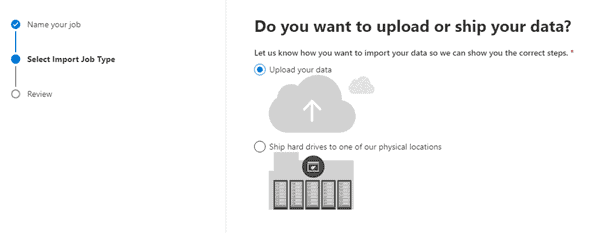
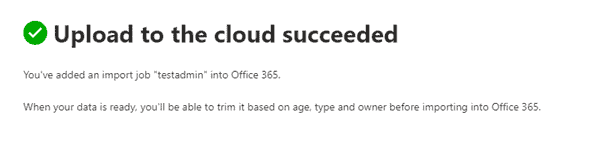
The platform exports the archives from Vault in PST format and uploads them directly into the Azure Blob Storage used by the Office 365 PST Import service.
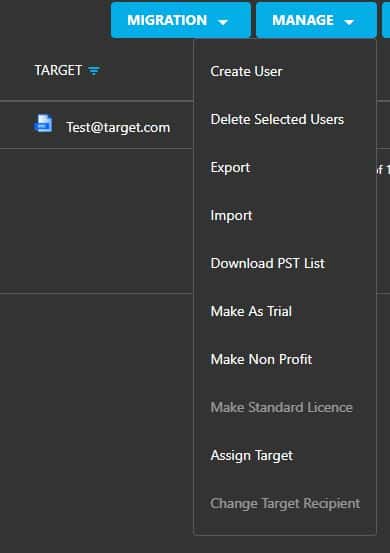
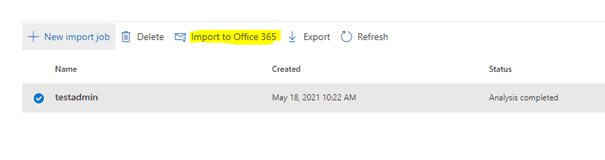
Once imported, you will trigger the Office 365 PST import service manually.
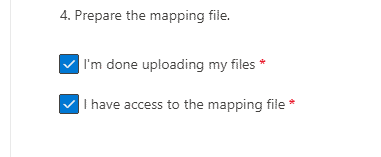
![]() Note: The Microsoft PST import service allows files with a maximum of 500 lines. Therefore the PST mapping file that we are generating has to be split into files of 500 lines.
Note: The Microsoft PST import service allows files with a maximum of 500 lines. Therefore the PST mapping file that we are generating has to be split into files of 500 lines.
1.2. License
You need a Cloudiway archive license to migrate your Vault archives. In the same way you buy a standard user license for Cloudiway, or you can contact us to request archive packages.