Slack to Microsoft Teams Migration Guide
This guide shows you how to migrate Slack channels to Microsoft Teams. Migrate messages, files, threads, reactions, and members.
Overview
This Slack to Microsoft Teams Migration Guide shows you how to migrate your Slack channels to Microsoft Teams using the Cloudiway platform.
Looking for our Slack to Teams Migration Solution?
Discover all features, pricing, and use cases for Slack to Microsoft Teams migrations.
View Solution PageWhat's Migrated
The following items are migrated from Slack to Microsoft Teams:
Limitations
The following items are not migrated or have limitations:
- Direct Messages: Slack DMs are not migrated (1:1 and group DMs).
- Slack Apps & Integrations: App messages and bot messages may not be fully preserved.
- Custom Emojis: Custom Slack emojis are converted to text representations.
- Slack Workflows: Automated workflows are not migrated.
- Pinned Messages: Pinned status is not preserved.
- Bookmarks: Slack bookmarks are not migrated.
Prerequisites
To perform the Slack to Teams migration, you need admin access to both platforms.
Slack Requirements
Workspace Admin
A Slack Workspace Owner or Admin account to install the Cloudiway App
Cloudiway Slack App
Install and authorize the Cloudiway Slack App in your workspace
Microsoft 365 Requirements
Teams Administrator
Microsoft 365 Global Admin or Teams Administrator role
Entra ID Application
An Entra ID (Azure AD) Application with Application Permissions (Cloudiway can create this automatically)
Target Teams Created
Microsoft Teams must be created before migration (or use auto-provisioning)
Migration Process
The Slack to Microsoft Teams migration follows these steps:
Step 1: Create Connectors
Create connectors for both Slack and Microsoft 365.
Slack Source Connector
Go to Connectors > New, select Slack as connector type and select Sites, Collaborations.
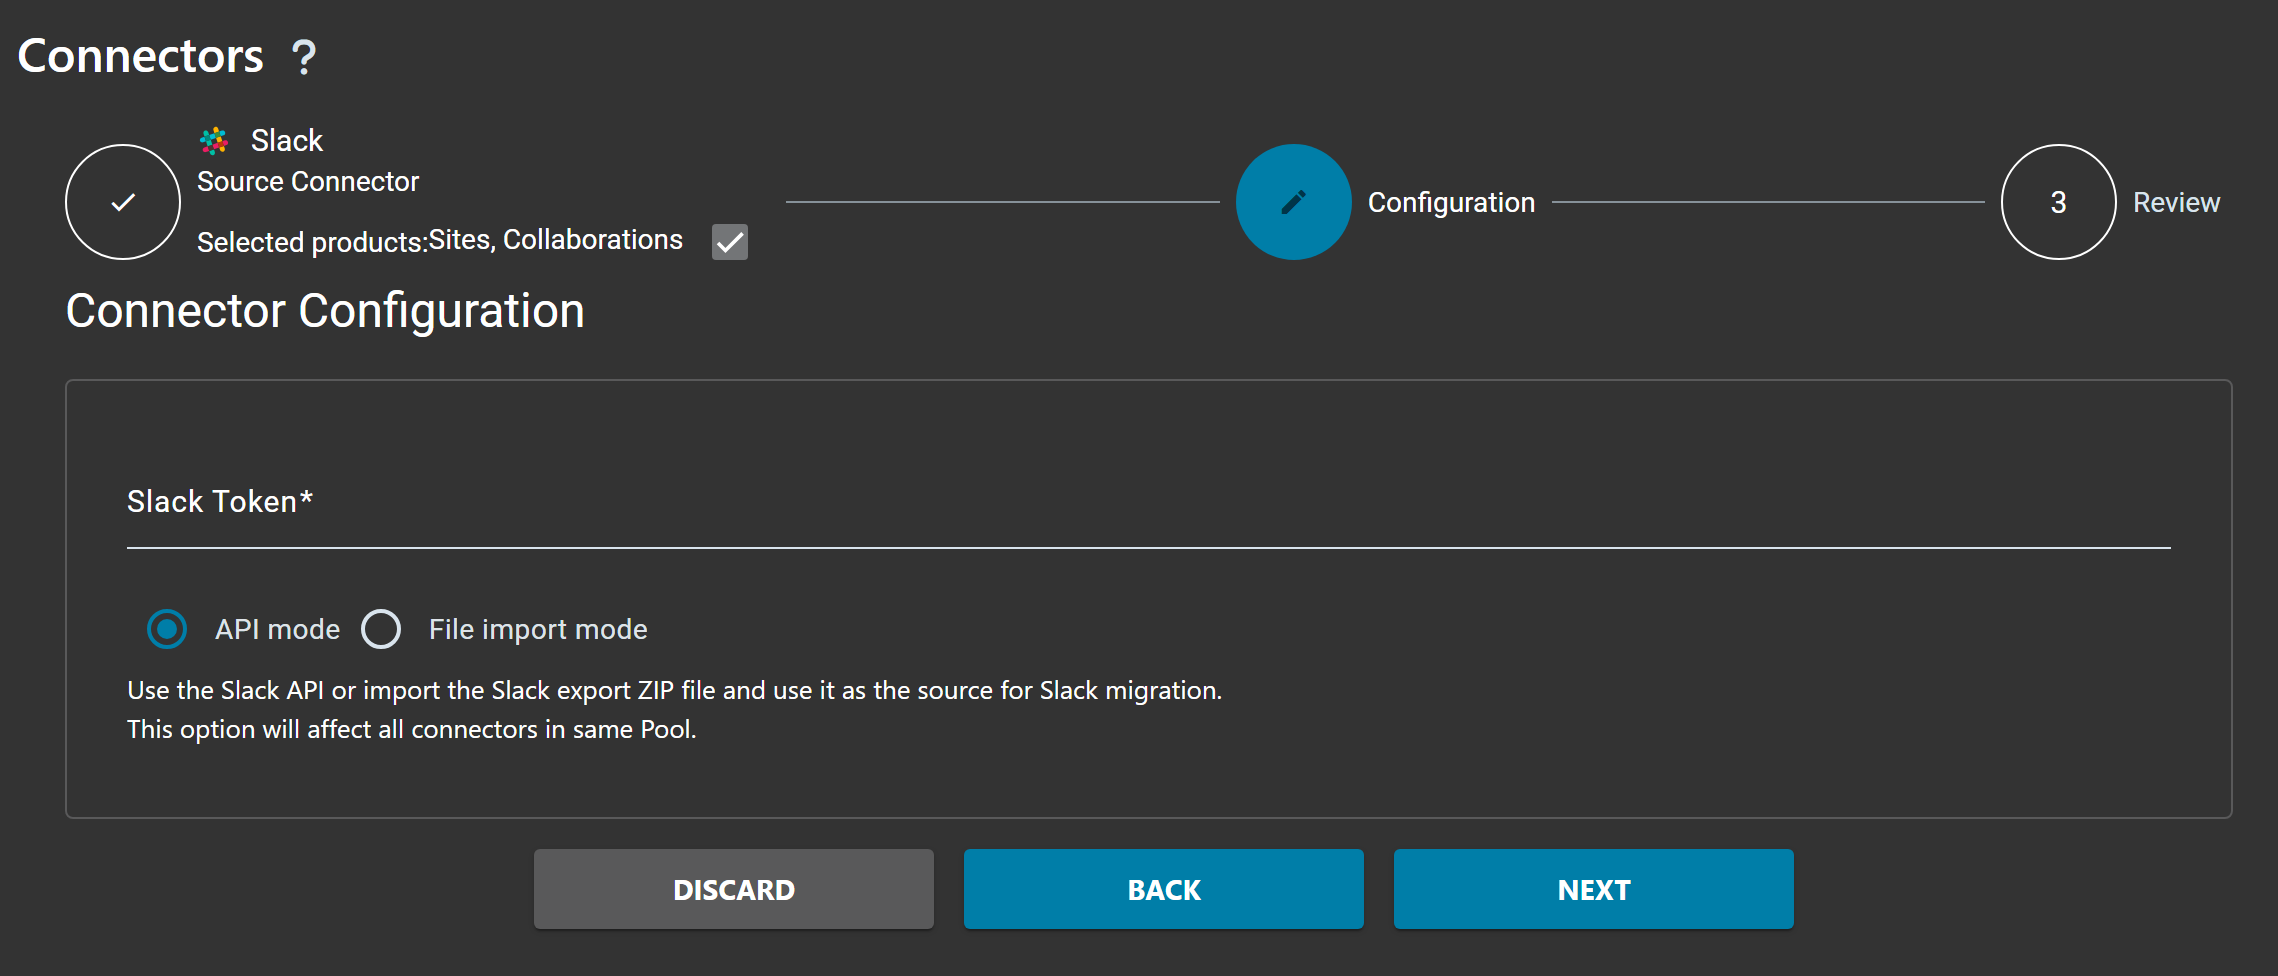
| Field | Description |
|---|---|
| Slack Token | Your Slack API token for accessing the workspace |
| API mode | Use the Slack API to connect to your workspace (recommended) |
| File import mode | Import the Slack export ZIP file and use it as the source for Slack migration |
Microsoft 365 Target Connector
Create a Microsoft 365 connector for the target Teams. Go to Connectors > New, select Microsoft 365 and Sites, Collaborations.
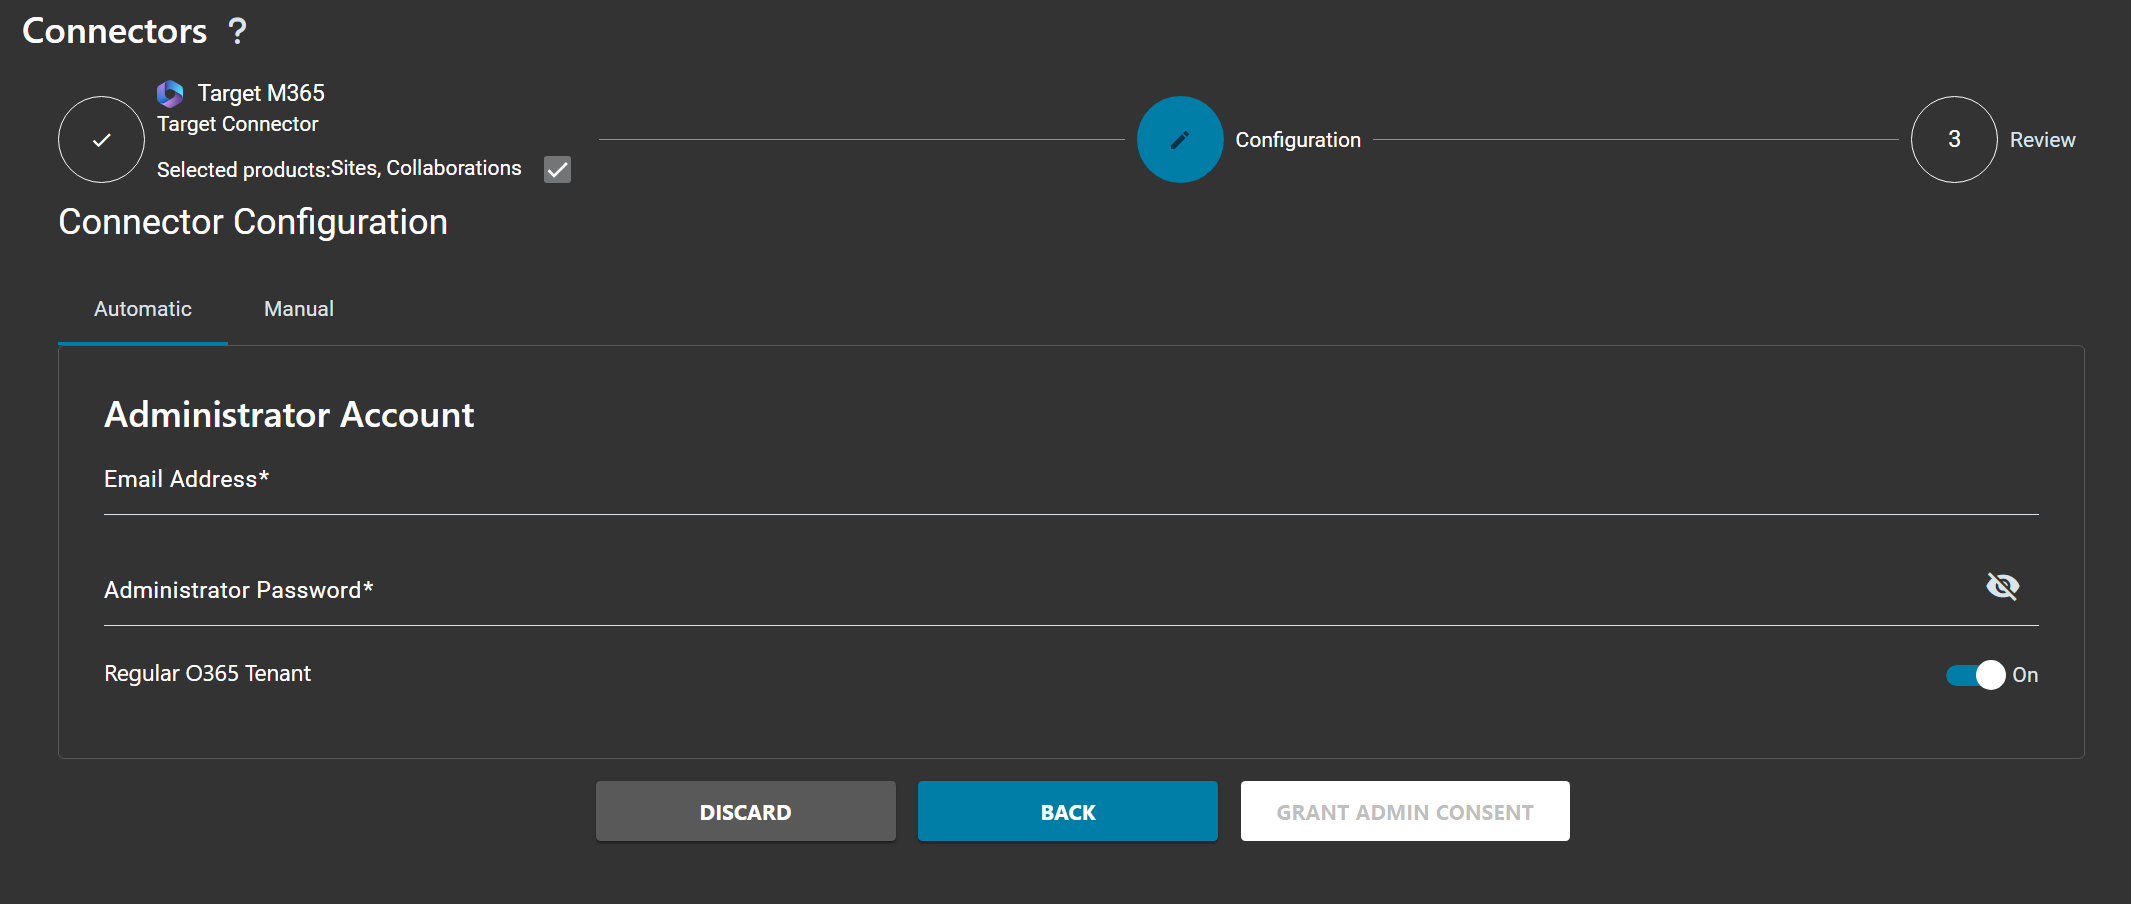
| Field | Description |
|---|---|
| Cloudiway Entra ID Application | Use the Cloudiway-managed Entra ID Application (recommended) |
| Custom Entra ID Application | Expert mode - use your own Entra ID Application |
| Tenant Domain | Your Microsoft 365 tenant domain |
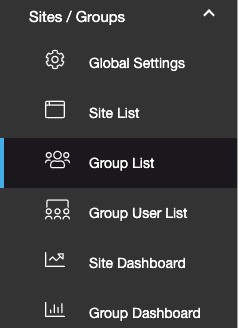
Step 2: Fill Group List
To retrieve or upload your Slack channels, select the Group List tab under the Sites product. There are three ways to populate the migration list.
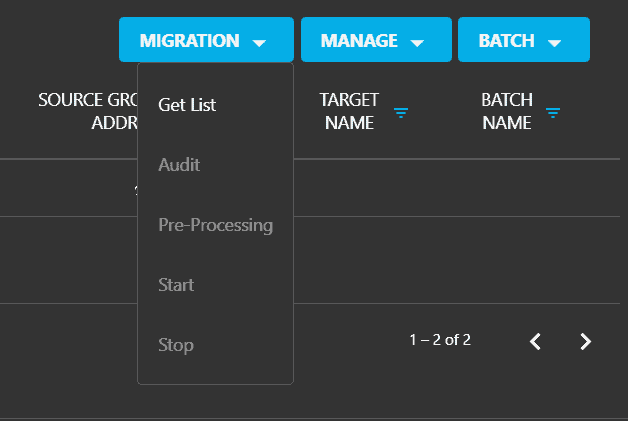
Option 1: Discovery (Get List)
Under MIGRATION, click on the Get List option:
Select your source pool connector:
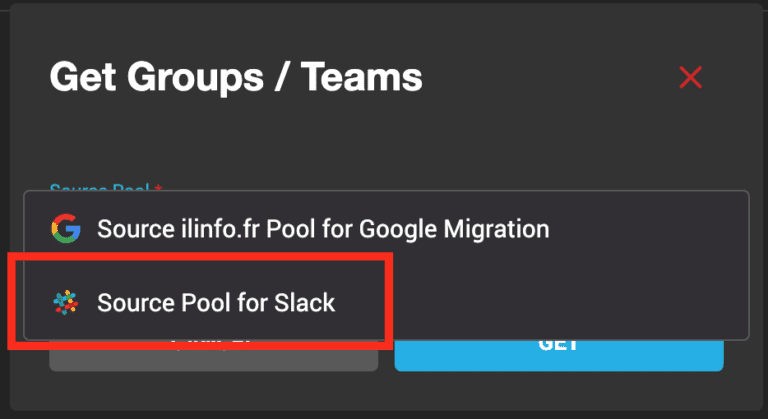
Click GET to start the process:
You can monitor the progress of this task in the logs. The amount of time it takes to compile the list will depend on how much content you are migrating from Slack. On average, you should get the list within 5 minutes.
Option 2: CSV Import File
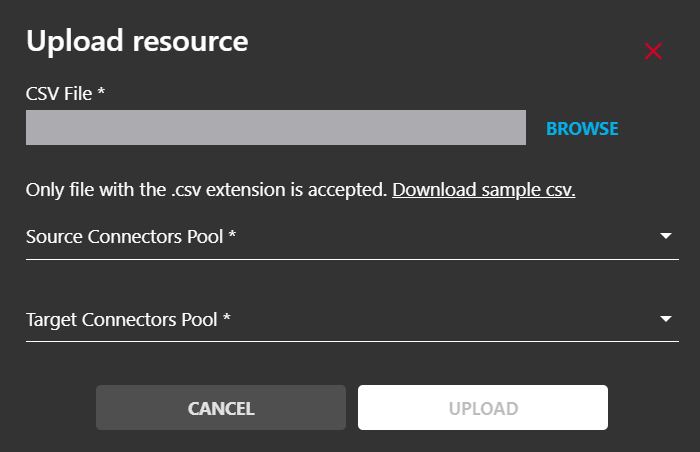
The second way to edit the Slack migration list is to upload a CSV file.
Check this article for generating the CSV file correctly: How to fill the Users/Groups CSV file
Click MANAGE > Import. Select the CSV File, the Source and Target Connectors, then click Upload.
Option 3: Manual Creation
The third way to edit the Slack migration list is to manually create an entry. You can create a single channel by adding your source Slack connector and defining the source channel.
Click the MANAGE tab, and from the drop-down list click Create:
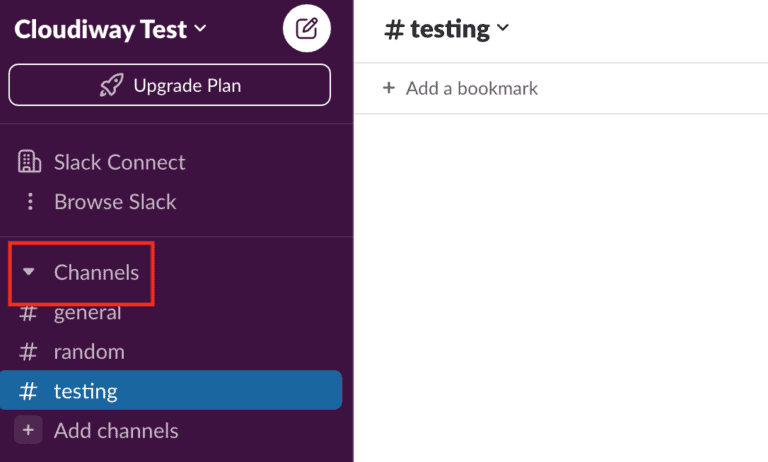
For Source Group Name, add an existing Slack channel name.
For the Source ID field, extract it from the Slack channel URL:

Step 3: Configure Target Location
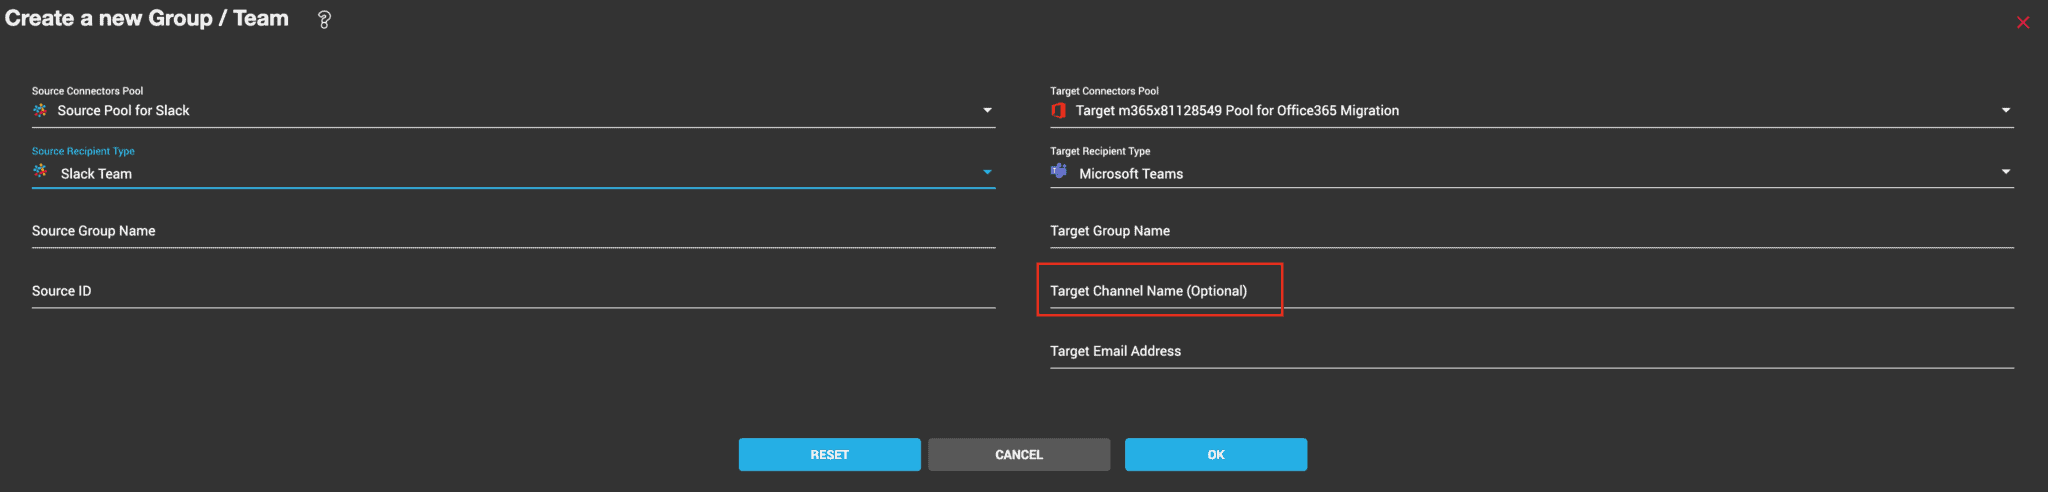
The Cloudiway Slack to Teams migration tool offers you 3 options to select the destination of your Slack channels:
- Migrate a Slack channel into a team (General channel of the team).
- Migrate a Slack channel into a specific channel of a team.
- Migrate a Slack channel into a private channel of a team.
The following picture shows the various options:
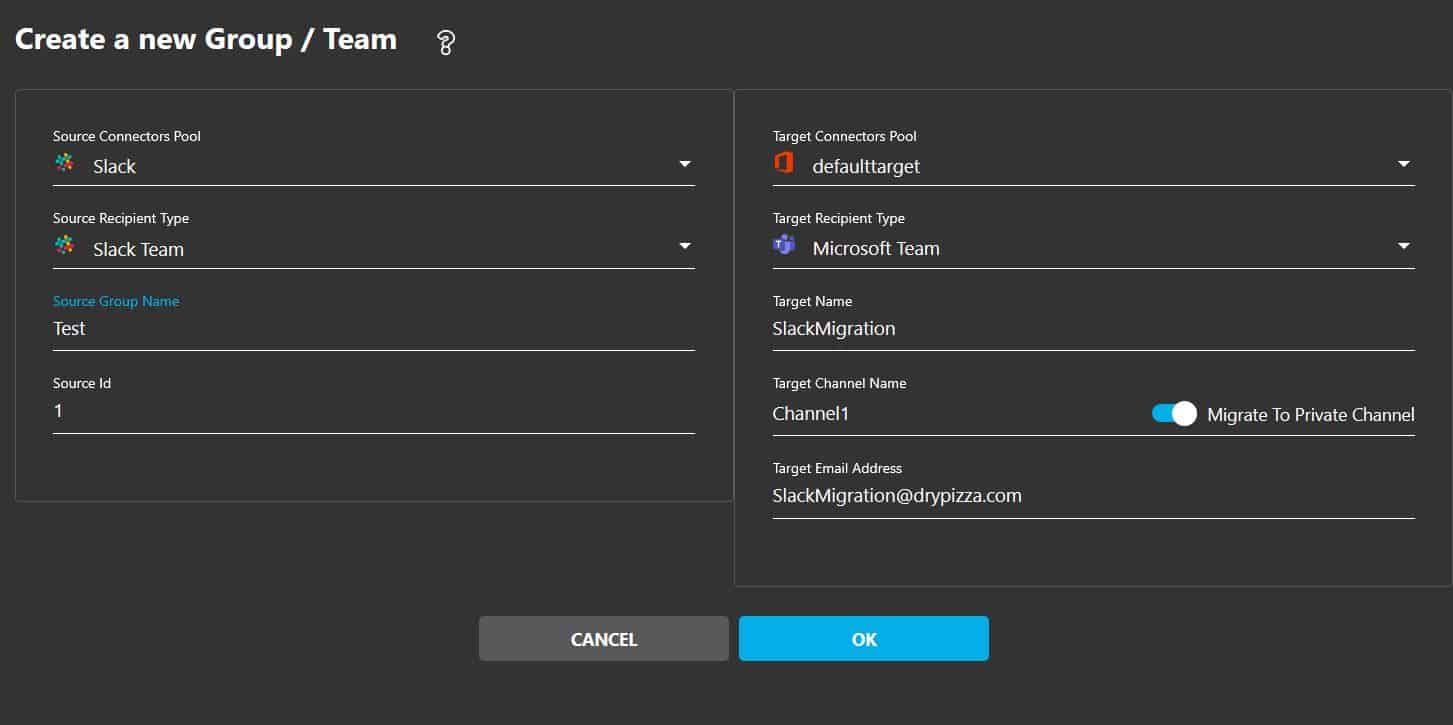
If you want to migrate into a specific channel, set the name of the team in the Target Name field, and the name of the channel in the Target Channel Name field. If you don't set these fields, the Slack channel will be moved into the general channel of the team.
Assign Target Connector
If you want to mass assign a target connector to your objects in the list, you can select them and from the menu, click on MANAGE, then Assign Target.
Add Prefix to Target
You can add a Prefix to the Target Group Name and the Target Group Email Address. In the Group List, check one or more objects that you want to add a prefix to. Go to MANAGE, then click Add Prefix.
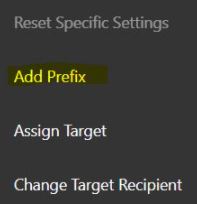
Enter the Prefix in the pop-up and click SAVE.
Step 4: Mapping Table
In Microsoft Teams, there are permissions and metadata (createdby, modifiedby, etc.) that contain email addresses. During the migration, these addresses must be converted into target accounts.
The Slack to Teams migration tool uses the mapping table to perform the conversion: the mapping table must be exhaustive because any email address not present in the mapping table will not be converted to the matching target address and you would end up with loss of permissions or metadata.
Navigate to Settings > Mapping Table to verify that:
- All active Slack users have a corresponding Microsoft 365 account
- Email addresses are correctly matched
- Guest users are mapped if needed
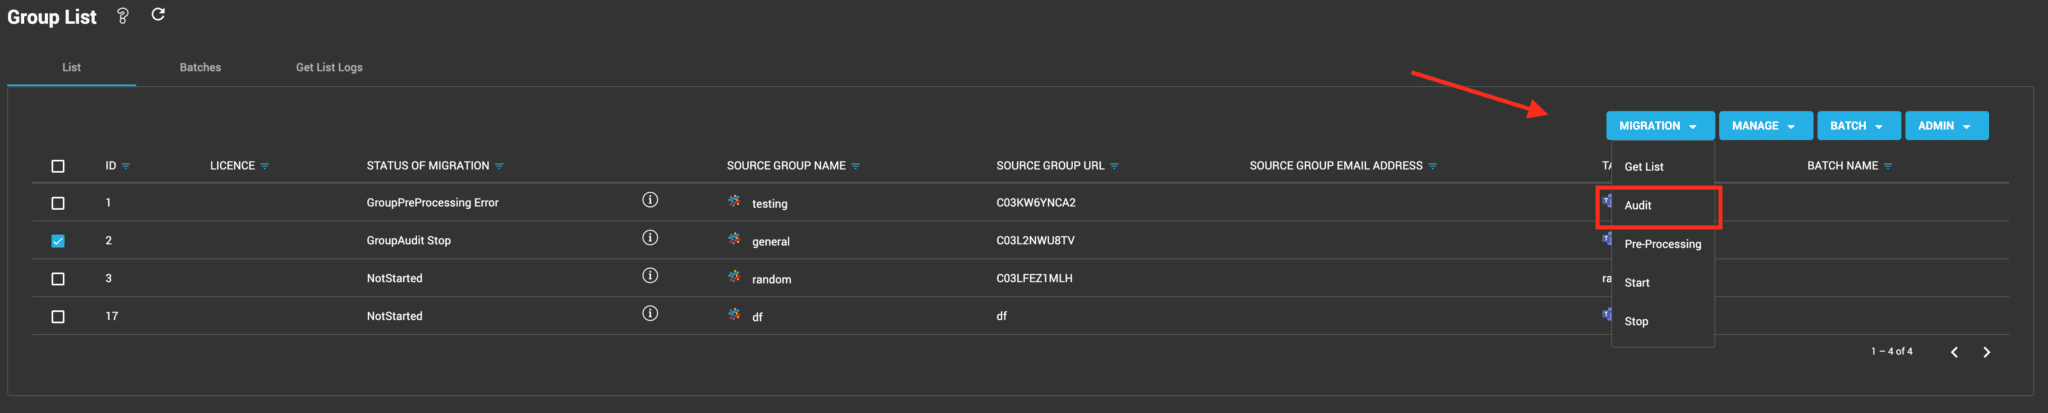
Step 5: Audit
The audit is optional and purely informative. You do not have to run it unless you want to see how many channels, files, and folders you have in the source Slack workspace.
This feature reports information about the Source Slack:
- Number of conversations in Slack
- Number of files in Slack
To Audit a Slack channel, in Group List, select it and click MIGRATION > Audit.
Step 6: Run Migration
Start the migration to copy Slack channels to Microsoft Teams.
Select Channels
Select the Slack channels you want to migrate.
Start Migration
Click MIGRATION then Start.
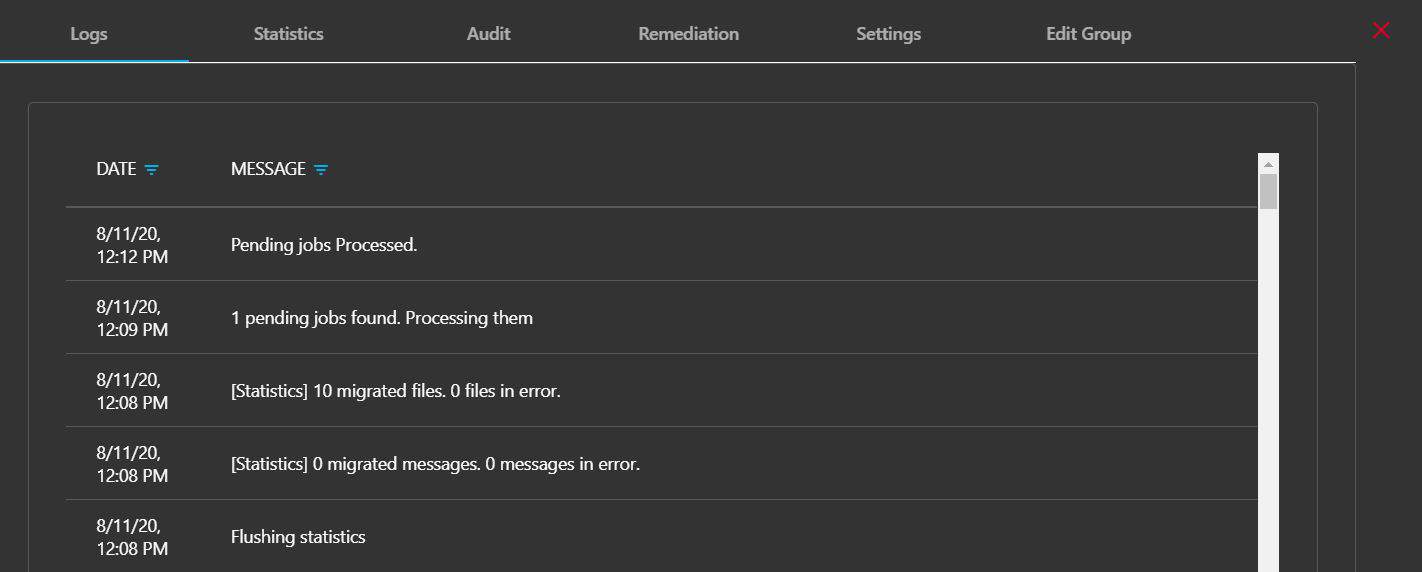
Monitor Progress
Monitor the migration progress in the logs table.
Delta Pass
Cloudiway supports delta passes for Slack migrations. After the initial migration:
- Only new messages since the last migration are copied
- New files and reactions are migrated
- The platform does not duplicate content
How to Start a Delta Pass
Simply restart the migration on the same channels. Cloudiway automatically detects what has already been migrated.
Frequently Asked Questions
Can I migrate Slack channels to Microsoft Teams?
Yes, Cloudiway supports migrating Slack channels (public and private) to Microsoft Teams channels. Messages, files, reactions, and members are migrated.
Are Slack message threads preserved?
Yes, Slack message threads are migrated and preserved in Microsoft Teams as threaded conversations.
What about Slack emojis and reactions?
Slack reactions are migrated to Teams. Standard emojis are converted to their Teams equivalents. Custom Slack emojis are shown as text representations.
Can I migrate Slack Direct Messages?
Currently, Slack Direct Messages (1:1 and group DMs) are not migrated. Only channel messages are supported.
How long does the migration take?
Migration time depends on the volume of messages, files, and number of channels. The audit phase provides estimates. Typical channels migrate in minutes to hours.
Get a free audit of your migration project from our experts.